—— 不管前方的路有多苦,只要走的方向正确,不管多么崎岖不平,都比站在原地接近幸福。——宫崎骏
上一篇我们讲了进度条控件ProgressBar的基本用法,这里来学习对话框AlertDialog的基本用法。
AlertDialog是什么
AlertDialog是一个Android自带的提示对话框。
AlertDialog有什么用
AlertDialog一般用来显示比较简单的提示对话框,比如只有标题、内容、几个按钮的对话框。
AlertDialog怎么用
继续基于上一篇的项目,我们增加几个对话框AlertDialog:
|
1
2
3
4
5
6
7
8
9
10
12
13
14
15
16
17
18
19
20
21
22
23
24
25
26
27
28
29
30
31
32
33
34
35
36
37
38
39
40
41
42
43
44
45
46
47
48
49
50
51
52
53
54
|
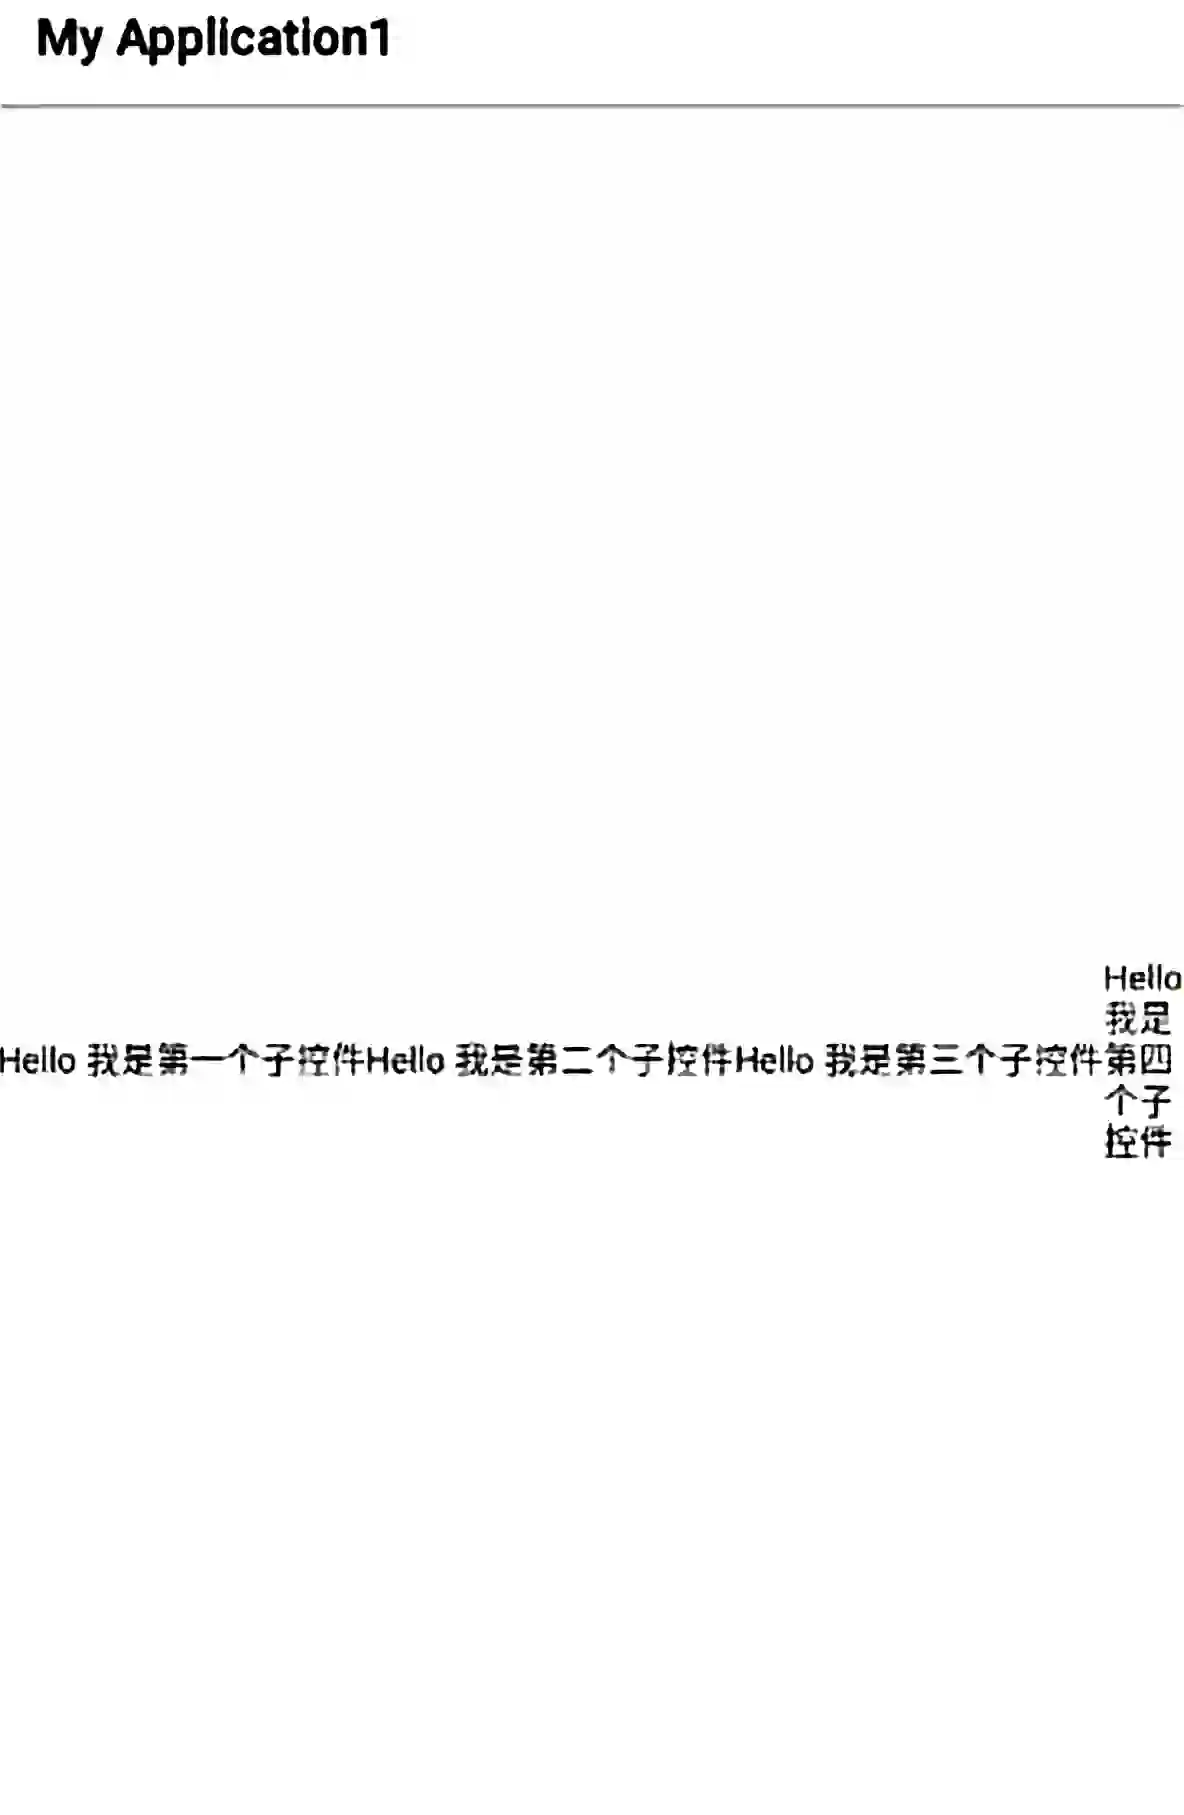
<?xml version="1.0" encoding="utf-8"?><androidx.constraintlayout.widget.ConstraintLayout xmlns:android="http://schemas.android.com/apk/res/android" android:layout_width="match_parent" android:layout_height="match_parent" tools:context=".TestActivity"> <ScrollView android:layout_width="match_parent" android:layout_height="wrap_content" app:layout_constraintBottom_toBottomOf="parent" app:layout_constraintTop_toTopOf="parent" app:layout_constraintVertical_bias="0.0"> ... ... ... <LinearLayout android:id="@+id/layout1" android:layout_width="match_parent" android:layout_height="wrap_content" app:layout_constraintStart_toStartOf="@+id/progress_horizontal3" app:layout_constraintTop_toBottomOf="@+id/progress_horizontal3"> <Button android:id="@+id/btn1" android:layout_width="wrap_content" android:layout_height="wrap_content" android:text="对话框1" /> <Button android:id="@+id/btn2" android:layout_width="wrap_content" android:layout_height="wrap_content" android:text="对话框2" /> <Button android:id="@+id/btn3" android:layout_width="wrap_content" android:layout_height="wrap_content" android:text="对话框3" /> <Button android:id="@+id/btn4" android:layout_width="wrap_content" android:layout_height="wrap_content" android:text="对话框4" /> </LinearLayout> </androidx.constraintlayout.widget.ConstraintLayout> </ScrollView></androidx.constraintlayout.widget.ConstraintLayout> |
上面加了四个按钮,点击每个分别会弹出对话框,我们看点击第一个按钮弹出来的对话框,这种对话框的特点是显示的信息非常简单,标题+内容+1-3个按钮,标题设置了就显示,没设置就不显示,按钮也是一样,如下:
对应的对话框代码:
|
1
2
3
4
5
6
7
8
9
10
11
12
13
14
15
|
new AlertDialog.Builder(TestActivity.this) .setTitle("系统提示") .setMessage("确定删除?") .setNegativeButton("取消", new DialogInterface.OnClickListener() { @Override public void onClick(DialogInterface dialog, int which) { Toast.makeText(TestActivity.this, "点击了取消", Toast.LENGTH_SHORT).show(); } }) .setPositiveButton("确定", new DialogInterface.OnClickListener() { @Override public void onClick(DialogInterface dialog, int which) { Toast.makeText(TestActivity.this, "点击了确定", Toast.LENGTH_SHORT).show(); } }).show(); |
第二种对话框,特点是标题+非常简单的列表样式对话框,标题设置了就显示,没设置就不显示,只限如下图这种纯简单文字的列表:
对应的对话框代码:
|
1
2
3
4
5
6
7
8
9
|
new AlertDialog.Builder(TestActivity.this) .setTitle("要发送给") .setItems(str, new DialogInterface.OnClickListener() { @Override public void onClick(DialogInterface dialog, int which) { Toast.makeText(TestActivity.this, "点击了 " + str[which], Toast.LENGTH_SHORT).show(); } }) .show(); |
第三种对话框,标题+xml布局文件+1-3个按钮,标题设置了就显示,没设置就不显示,按钮也是一样,如图:
对应的对话框代码:
|
1
2
3
4
5
6
7
8
9
10
11
12
13
14
15
|
new AlertDialog.Builder(TestActivity.this) .setTitle("Apple ID 登录") .setView(R.layout.dialog_my1) .setNegativeButton("取消", new DialogInterface.OnClickListener() { @Override public void onClick(DialogInterface dialog, int which) { Toast.makeText(TestActivity.this, "点击了取消", Toast.LENGTH_SHORT).show(); } }) .setPositiveButton("确定", new DialogInterface.OnClickListener() { @Override public void onClick(DialogInterface dialog, int which) { Toast.makeText(TestActivity.this, "点击了确定", Toast.LENGTH_SHORT).show(); } }).show(); |
布局文件:
|
1
2
3
4
5
6
7
8
9
10
11
12
13
14
15
16
17
18
19
20
21
22
23
24
25
26
27
28
29
30
31
32
|
<?xml version="1.0" encoding="utf-8"?><androidx.constraintlayout.widget.ConstraintLayout xmlns:android="http://schemas.android.com/apk/res/android" android:layout_width="match_parent" android:layout_height="match_parent" tools:context=".MainActivity"> <EditText android:id="@+id/edittext1" android:layout_width="match_parent" android:layout_height="wrap_content" android:background="@drawable/bg_rectangle_c8c8c8_2" android:hint="请输入账号" android:padding="10dp" app:layout_constraintEnd_toEndOf="parent" app:layout_constraintStart_toStartOf="parent" app:layout_constraintTop_toTopOf="parent" /> <EditText android:id="@+id/edittext2" android:layout_width="match_parent" android:layout_height="wrap_content" android:background="@drawable/bg_rectangle_c8c8c8_2" android:hint="请输入密码" android:inputType="textPassword" android:padding="10dp" app:layout_constraintEnd_toEndOf="parent" app:layout_constraintStart_toStartOf="parent" app:layout_constraintTop_toBottomOf="@+id/edittext1" /></androidx.constraintlayout.widget.ConstraintLayout> |
第四种对话框,也是我们最常用的自定义样式对话框,这种对话框从头到尾都是通过布局文件、style设置来自定义样式的,如图:
对应的对话框代码:
|
1
2
3
4
5
6
7
8
9
10
11
12
13
14
15
16
17
18
19
20
21
22
23
24
25
|
class MyDialog extends Dialog { public MyDialog(Context context) { super(context, R.style.MyDialog); setContentView(R.layout.dialog_my2); getWindow().getAttributes().gravity = Gravity.CENTER; WindowManager.LayoutParams lp = getWindow().getAttributes(); DisplayMetrics metrics = TestActivity.this.getResources().getDisplayMetrics(); lp.width = (int) (metrics.widthPixels * 0.8f); getWindow().setAttributes(lp); findViewById(R.id.tv_left).setOnClickListener(new View.OnClickListener() { @Override public void onClick(View v) { dismiss(); } }); findViewById(R.id.tv_right).setOnClickListener(new View.OnClickListener() { @Override public void onClick(View v) { dismiss(); } }); }} |
布局文件:
|
1
2
3
4
5
6
7
8
9
10
11
12
13
14
15
16
17
18
19
20
21
22
23
24
25
26
27
28
29
30
31
32
33
34
35
36
37
38
39
40
41
42
43
44
45
46
47
48
49
50
51
52
53
54
55
56
57
58
59
60
61
62
63
64
65
66
67
68
69
70
71
72
73
74
75
76
77
78
79
80
81
82
83
84
85
86
87
88
89
90
91
92
93
94
95
96
|
<?xml version="1.0" encoding="utf-8"?><androidx.constraintlayout.widget.ConstraintLayout xmlns:android="http://schemas.android.com/apk/res/android" android:layout_width="match_parent" android:layout_height="wrap_content" android:background="@drawable/bg_rectangle_white_12" tools:context=".MainActivity"> <TextView android:id="@+id/tv_title" android:layout_width="wrap_content" android:layout_height="wrap_content" android:layout_marginTop="20dp" android:text="微信想访问您的照片" android:textColor="#222222" android:textSize="16sp" app:layout_constraintEnd_toEndOf="parent" app:layout_constraintStart_toStartOf="parent" app:layout_constraintTop_toTopOf="parent" /> <TextView android:id="@+id/tv_1" android:layout_width="wrap_content" android:layout_height="wrap_content" android:layout_marginTop="6dp" android:text="请点击好以允许访问。" android:textColor="#666666" app:layout_constraintEnd_toEndOf="parent" app:layout_constraintStart_toStartOf="parent" app:layout_constraintTop_toBottomOf="@+id/tv_title" /> <TextView android:id="@+id/tv_2" android:layout_width="match_parent" android:layout_height="wrap_content" android:layout_marginLeft="30dp" android:layout_marginTop="14dp" android:layout_marginRight="30dp" android:text="若不允许,您将无法在微信中给好友发送照片、保存照片,也无法在朋友圈中发表照片。" android:textColor="#666666" app:layout_constraintEnd_toEndOf="parent" app:layout_constraintStart_toStartOf="parent" app:layout_constraintTop_toBottomOf="@+id/tv_1" /> <View android:id="@+id/view1" android:layout_width="match_parent" android:layout_height="1px" android:layout_marginTop="30dp" android:background="#cccccc" app:layout_constraintEnd_toEndOf="parent" app:layout_constraintStart_toStartOf="parent" app:layout_constraintTop_toBottomOf="@+id/tv_2" /> <LinearLayout android:layout_width="match_parent" android:layout_height="wrap_content" app:layout_constraintEnd_toEndOf="parent" app:layout_constraintStart_toStartOf="parent" app:layout_constraintTop_toBottomOf="@+id/view1"> <TextView android:id="@+id/tv_left" android:layout_width="0dp" android:layout_height="wrap_content" android:layout_weight="1" android:gravity="center" android:paddingTop="10dp" android:paddingBottom="10dp" android:text="不允许" android:textColor="#226fff" app:layout_constraintEnd_toEndOf="parent" app:layout_constraintStart_toStartOf="parent" /> <View android:layout_width="1px" android:layout_height="match_parent" android:background="#cccccc" /> <TextView android:id="@+id/tv_right" android:layout_width="0dp" android:layout_height="wrap_content" android:layout_weight="1" android:gravity="center" android:paddingTop="10dp" android:paddingBottom="10dp" android:text="好" android:textColor="#226fff" app:layout_constraintEnd_toEndOf="parent" app:layout_constraintStart_toStartOf="parent" /> </LinearLayout></androidx.constraintlayout.widget.ConstraintLayout> |